Blog › Coaching
U13 basketball drills: 6 situations to film
At 11 or 12 years old, a player is sure they defended up close. On video, they were three metres away. You do not need an analysis session to show them: fifteen seconds at the side of the court are enough, as long as you filmed the right drill, from the right place.
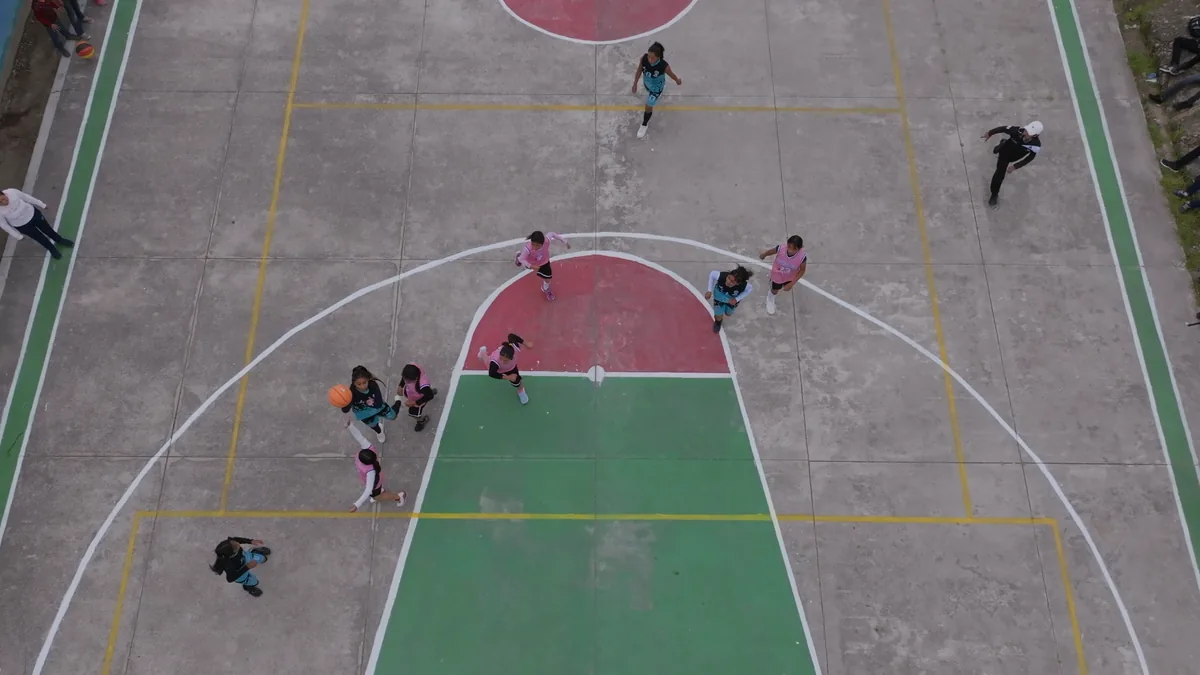
Here are six classic training situations for U13, chosen because they are easy to correct on video. For each one: what you film, from where, and what you look at afterwards. The principle comes from filming a training session: you film one drill, not the whole session.
Before you start: the common settings
- A fixed phone, on a tripod. Not in your hand while you coach: you will do neither well.
- In landscape, at 1080p. That is plenty to see footwork and positioning.
- Closer and lower than in a match. For a drill on a half court, a tripod at the side of the court is enough. Match positions are in filming a basketball match.
- One correction per drill. A child of this age remembers one instruction, rarely three at once.
- Keep the right repetition, not the whole drill. With TactiCam's Recall Mode, the phone runs on its tripod and you tap just after the repetition to show: the seconds before are kept. No long video to dig through afterwards.
A word on the rules of the category: they depend on your federation and your league. As an example, the rules of the Hauts-de-France League's regional women's U13 championship (2026-2027 season, consulted on 9 October 2026) provide for a size 6 ball and four periods of 8 minutes. This is not a rule that applies everywhere: check the one for your own championship, in France as in Switzerland.
1. The 1-on-1 from the start
The drill. The attacker receives the ball at 45 degrees, facing their defender, and has two dribbles to get to the basket. Five or six repetitions each, then the roles are swapped.
Where to film from. In line with the player, behind the basket or from the baseline, slightly raised if possible. From the front, you see the first step and the direction taken, which a side shot flattens.
What you look at. The pivot foot that lifts before the ball leaves the hand: that is travelling, and the child often does not feel it. Then the ball: is it protected on the side away from the defender, or offered in front of them? On defence, the distance of an arm and feet that slide without crossing.
2. Getting back on defence
The drill. A 3-on-3 or 5-on-5 game on the full court. At the whistle, the attacking team puts the ball down: it must get back in front of the ball while the other team restarts it.
Where to film from. From the side, level with the halfway line, as high as possible. You need to see both halves of the court in the same frame.
What you look at. Pause the image at the moment the ball crosses the halfway line and count the defenders already behind it. An arrow drawn on the frozen image is enough to show the shortest path to the basket. Then: who walked after the whistle, who runs with their back to the play without looking at the ball, and who protects the basket first. That frozen image has more effect than a long speech about effort.
3. The give and go
The drill. In twos, then threes, on a half court: a pass, a cut to the basket, the ball coming back into the run. A defender is added once the movement is learned.
Where to film from. Behind the basket, raised if the hall allows it. This shot shows the space between the players, which is the whole point of the drill.
What you look at. The passer who stays rooted after their pass: that is the most common mistake, and you see it straight away. Then the timing of the cut, too early or too late, and the target hand: does the receiver hold it out before getting the ball? Finally the pass itself, which must arrive in front of the player and not behind their back.
4. The rebound
The drill. The coach shoots, two defenders against two attackers around the key. The defender must find their opponent and block them out behind them before going for the ball.
Where to film from. From the baseline or behind the basket, with the whole key in the frame.
What you look at. The order of the movements: find the opponent, then the ball. Most children do the opposite and look at the hoop. Rewatch the moment of the shot in slow motion: you see who has already made contact and who stayed a spectator. Then the low position, the wide footwork, and taking the ball with two hands.
5. The layup
The drill. The layup from both sides, after a dribble, in a line. The weak side counts as much as the other.
Where to film from. This is the exception: from the side, perpendicular to the run, at player height and fairly close. Here you are looking at feet, not at positioning. The phone's slow motion is enough.
What you look at. The rhythm of the two steps. Right side: right step, left step, shot with the right hand and the right knee rising; the reverse on the left side. Then the last stride, which should rise rather than lengthen, and the ball held in two hands until the last moment. On the video, the child finally sees why their shot goes too hard. The quarter-speed slow motion and frame-by-frame of the Video Room show the two steps one by one.
6. The transition after conceding a basket
The drill. A 3-on-2, then the two defenders set off again as a 2-on-1 in the other direction. Variation: after each basket, an immediate inbound and a run forward.
Where to film from. As in a match: from the side, in the middle of the length, raised.
What you look at. The time lost between the conceded basket and the inbound, and who goes to get the ball. Then the lanes: two players wide on the sides and the ball carrier in the centre, or three players stuck to the ball? Finally the first pass forward, often replaced by one more dribble.
Showing the video to 11 to 13 year olds
- Straight away, at the side of the court. The player still remembers what they felt.
- Let them speak first. "What do you see?" works better than a ready-made correction.
- Show the right repetition too. A child who only sees their mistakes switches off quickly.
- No mistake projected in front of the whole group without the player's agreement. At this age, other people's eyes weigh heavily.
To organise a proper video moment with the team, the method is in running a video session players listen to.
Parents first
U13s are minors. Before the first filmed drill, you need the parents' written agreement, access to the footage limited to the team, and no public publication. What the club must put in place is detailed in filming underage players, and a text to adapt is in the image rights authorisation template.
The workflow with TactiCam, from the court to the player
TactiCam is made for this kind of work, with the phone you already have:
- On the court. The phone is placed on its tripod, in Recall Mode. You keep your own phone in your pocket as a remote: one tap after the right repetition, and TactiCam keeps the 5, 10 or 15 seconds before.
- At the side of the court. The clip is in the Video Room. You show it straight away, in slow motion or frame by frame, with an arrow or a zone drawn on it.
- After the session. You leave a comment at the exact moment of the clip and send it to the player concerned, without projecting it in front of the whole group. The player finds it in their Player account, free for life.
The footage stays within the team, hosted in Switzerland, and nothing is public. The coach starts with a 14-day trial, without a bank card: all you have to do is create the team.
Frequently asked questions
What basketball drills should you do with U13s?
Short, repeated situations that relate to the game: 1-on-1 from the start, getting back on defence, give and go, rebound, layup from both sides, 3-on-2 transition. One correction instruction per drill.
What size ball for U13 basketball?
It depends on your championship. For example, the rules of the Hauts-de-France League's regional women's U13 championship (2026-2027 season) provide for a size 6 ball. Check the rules of your federation or your league.
Can you film a basketball training session with children?
Yes, with the parents' written agreement, footage reserved for the team and no public publication. To correct a movement, keeping the right repetition is enough: with TactiCam's Recall Mode, the coach taps after the action and only that clip is kept.
By sport: Basketball · Handball · Volleyball
Read next
Keep the right repetition, not the whole session
With TactiCam's Recall Mode, the coach taps after the action and keeps the preceding seconds. The clip goes to the player, who has a free-for-life account. 14-day coach trial, no bank card.